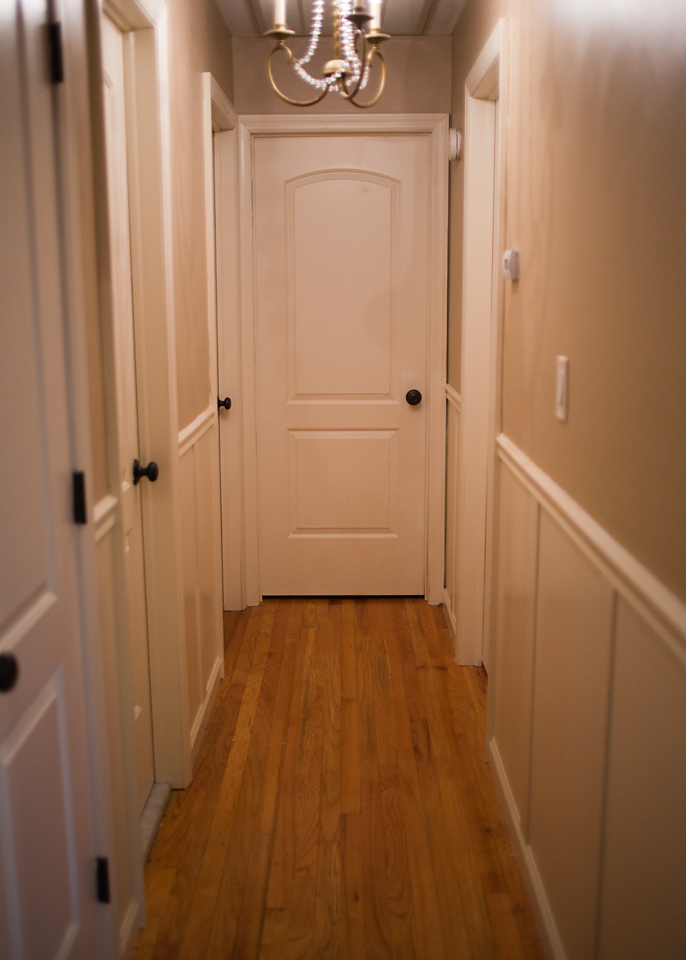
i need to preface this by saying, brian and i have ZERO handy man skills, like zip, zilch, nada…or at least we thought! i have seen this little bit of goodness a hundred times over on various blogs, DIY tutorials, pinterest (of course) and in real life (in much more grander fashion, colette you know how much i love every inch of your beautifully perfected, stunningly gorgeous home full of details that only rocco could imagine up). When we, two weeks prematurely, packed up the house to prep for demo, my ever wondering and always creatively thinking mind saw just bare walls. BARE and BORING!! We already had a chair rail moulding through the main rooms, living room dining room and hallway to the bedrooms, and a two color wall scheme going on. I liked it enough but i saw this downtime of just waiting, as the perfect time to spring on a project.
So I begged, pleaded actually (maybe a little bit of foot stomping) and threw it out there. “How about some board and batten, to jazz this room up?” I played all my cards right. I reminded Brian that the house was empty, the floors are being refinished, worse that could happen it doesn’t work out the way i envisioned and now was as good a time as any to just give it the college try.
So we did. Of course we sought out a little bit of help from the always willing to listen to my ideas, think them through and usually jump right on board with the project, my step dad Pat. He came. He listened. He didn’t get it. But i promised it would be easy and pretty inexpensive, so it was worth a shot. Much to my surprise, within a couple hours we were on our way. One embarrassing trip to the lumber yard (we didn’t even know what we were looking for, who knew there were so many lumber options) and about $125 bucks later, we had our supplied.
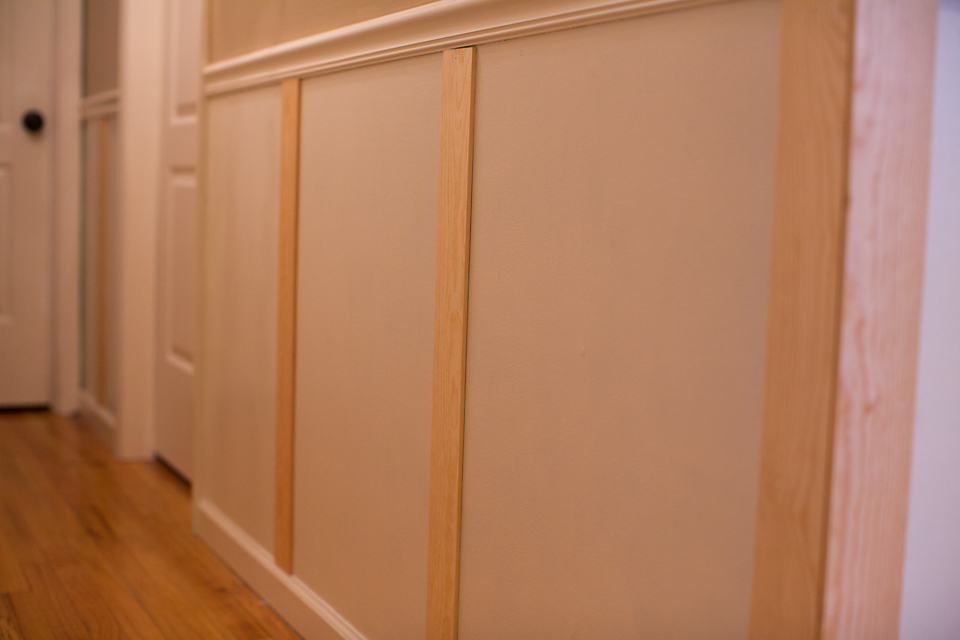
We laid it out. Measured. Cut. Leveled. Glued our freshly cut lumber to the wall. They fell off. We borrowed a finishing nailer and we were done!

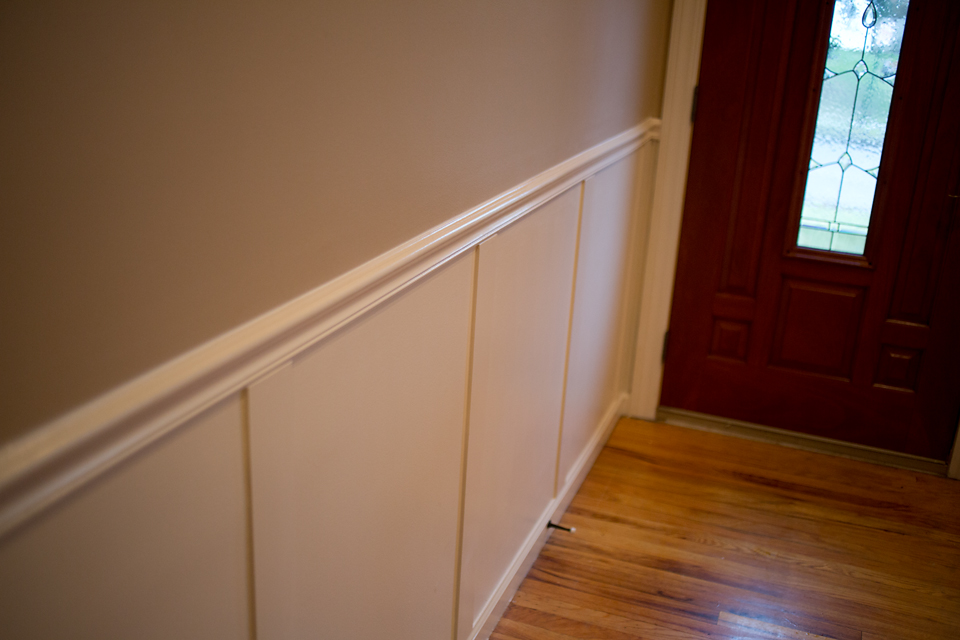
In about an hours time the nails were filled and the entire project was caulked (that’s right my friends, i caulked every little seam and it was quick and easy and i think the perfect finishing touch to make it all seamless in the end).
And so began the task of painting. my tips for painting (and trust my tips here, i come form a long line of painters, that’s one thing we ladies in this family like to do. its inherited.) i prefer an eggshell finish on walls. i know flat paint looks best but with kids, impossible to clean. eggshell wipes nicely and is very easy to match even years later without streaking if and whn you need a touch up here and there). I use a semigloss on all my trim, just a preference. when i recently painted my bedroom furniture from natural wood to white it was recommended that i use a foam roller. i did. i have never looked back. for doors, always foam roller for me. and for this project, i went foam roller. it was a small enough space. (regular rollers hold more paint and layer on easier, so for bigger spaces go regular roller or you’ll be painting double time, but for a smooth, seamless space, especially with a glossier finish, foam is my go to).

Start to finish, i would say the project took about 5 hours. with having the chair rail and base moulding already in stalled, total cost was about $180 bucks (that includes paint!).

not a huge change, but i dig it…lots!
misc. tips: we went with 4 inch slats (they come in various widths. smaller widths meant more cutting, caulking, blah blah) so we went big.
we spaced each slat 2 feet apart which left us with only about 35 slats to hang.
liquid nail does NOT work if you have any warped walls. apparently i have quite a few. (but it works pretty good elsewhere)
PAINT COLORS: Top is beach house beige (eggshell finish) board and batten color is lambskin (semi gloss finish)
give it a go. get crafty.
